Creating and managing API keys
Introduction
It is possible to authenticate with the REST API using API keys. API keys let you access restricted data and perform certain actions without signing in to the RIPE NCC Access single sign-on system.
Each API key allows a set of actions to be performed in your name. For example, a single key may allow the creation of a new user-defined measurement and would also allow hidden information about your probe to be viewed.
The two main reasons for using API keys are to:
- Make it simpler to write scripts that use RIPE Atlas data
- Allow you to easily and securely share data with other people
Where to manage your keys
You can manage your keys in two places, both of which require you to be logged in:
- The My API Keys card on your dashboard
- The API Keys page, which shows the same list on a page of its own
Both show the same table of keys, with the columns Label, UUID (shortened), Created, Permissions, Valid From, Valid Until and Enabled. Use the Search keys field to filter the list.
Creating keys
To create a key, click the plus symbol in the title bar of the My API Keys card, or the Generate New Key button on the API Keys page.
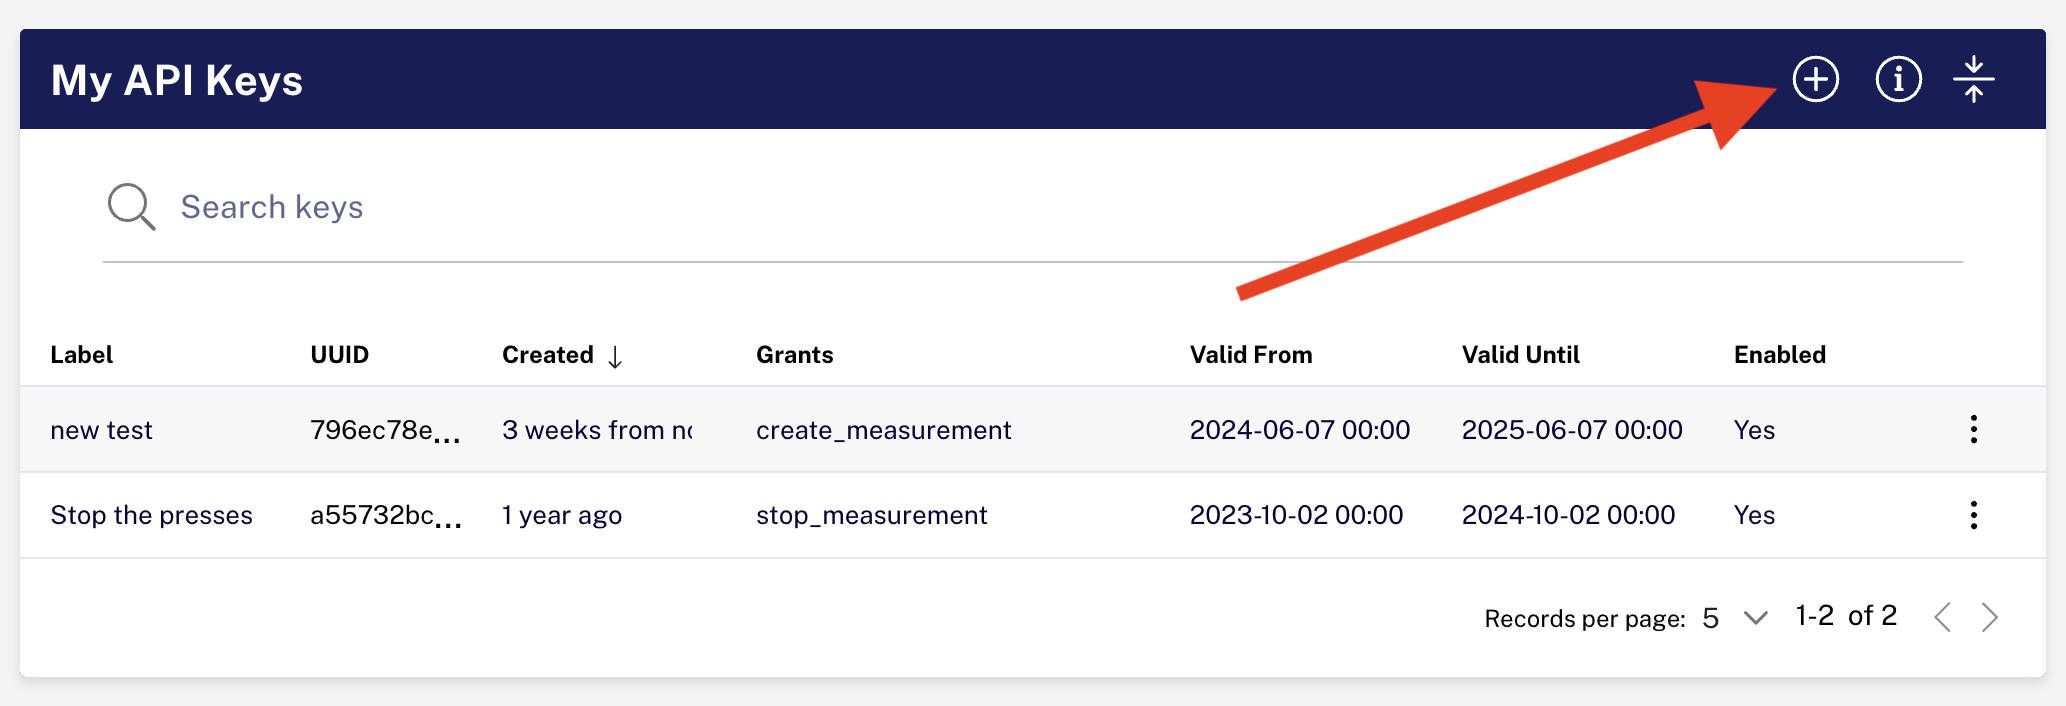 Create new API key button
The Create an API Key dialog takes you through two steps.
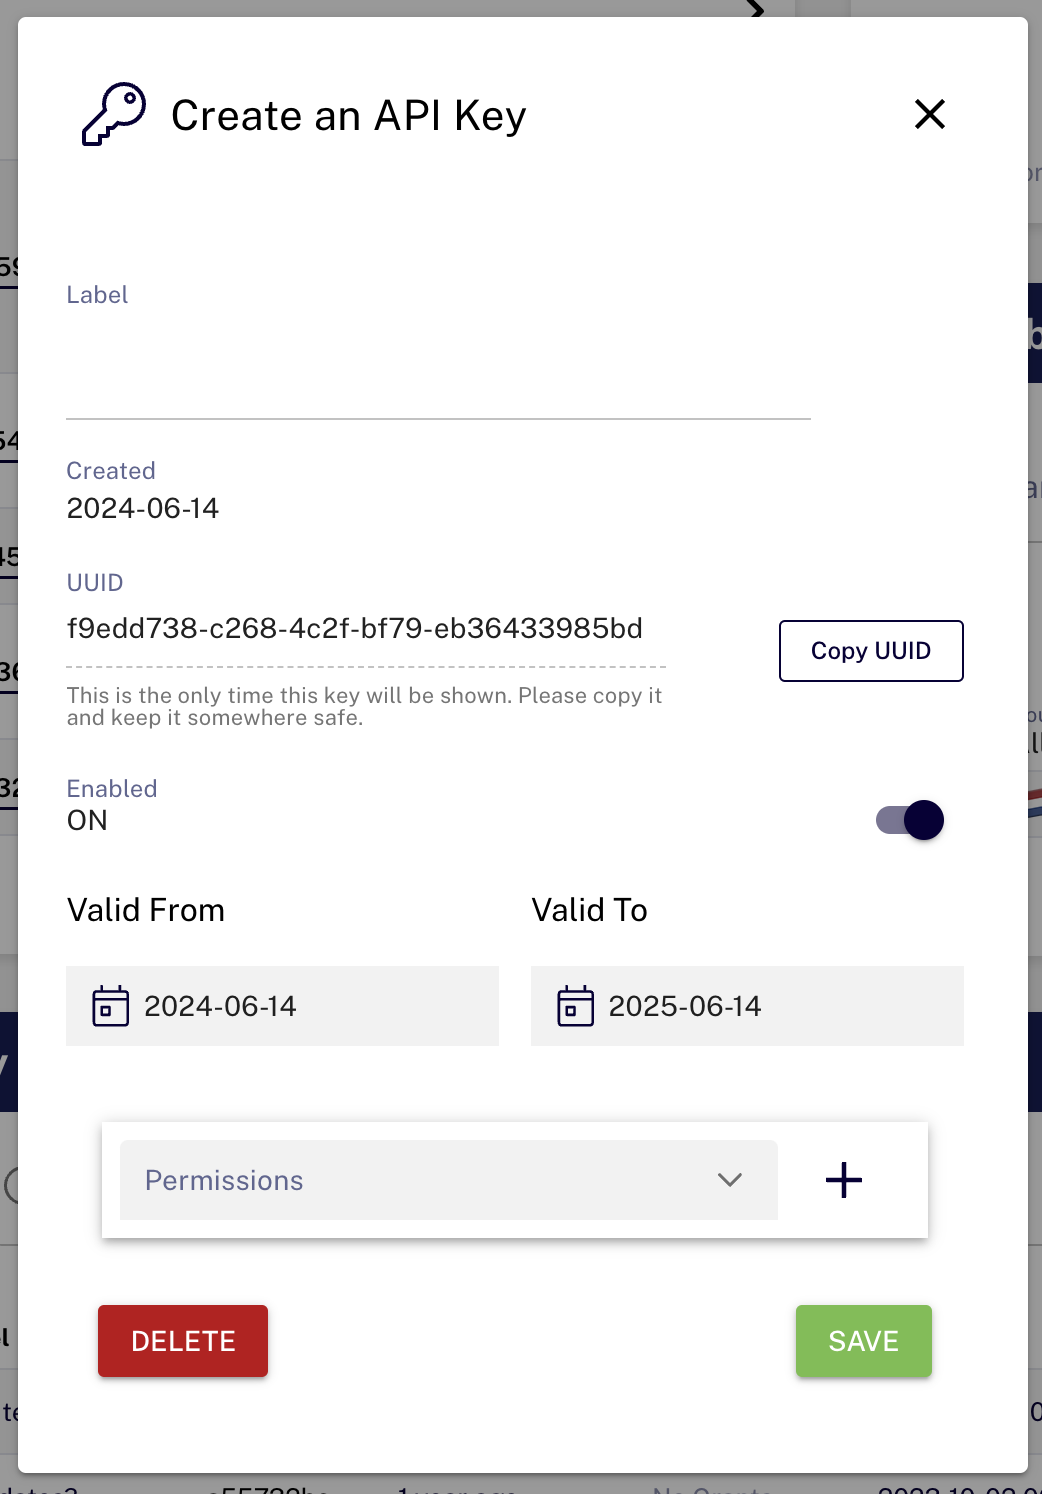
Step 1: Name and permissions
- Name: A free-text name that helps you organise your keys. It is required, and is shown in the Label column of the key list
- Valid from: Keys won't work until this time. If you leave this empty, the key is valid immediately
- Valid to: Keys will stop working at this time. If you leave this empty, the key never expires
- Enabled: Keys will not work unless this is on
Under Permissions, choose what the key is allowed to do. Add as many permissions as you need. For each one:
- Permission: The specific action you want to allow. Permissions are grouped by area in the dropdown. A permission generally corresponds to one function and one API URL prefix
- Target: Some permissions must be limited to a specific object, such as an individual probe or user-defined measurement that you own. The Target field only appears for those permissions. Where it is offered, you can also choose to give access to all objects of that type
Click Add to add the permission to the key. Added permissions are listed above the dropdown; use the bin icon to remove one again. When you are done, click Create Key.
Step 2: Copy your key
The key is created and its full UUID is shown. Copy it with the copy button and keep it somewhere safe, then click Done.
WARNING
This is the only time the full UUID is shown. Once you close the dialog it cannot be retrieved from the system. If you lose it, you can give the key a new UUID with the same permissions, as described in Managing keys.
Using keys
For instructions on using API keys in your scripts or your shared URLs, refer to the API Keys section in the REST API manual.
Managing keys
To view or change a key, click the ⋮ menu on the right of its row and choose Edit. The Update API Key dialog shows the same fields as when you created the key, so you can change its name, validity period, permissions or the Enabled toggle. Turning Enabled off lets you withdraw access whenever you like. Click Save to apply your changes.
The dialog also shows the start of the key's UUID with a Regenerate button next to it. Regenerating gives the key a new UUID while keeping its name, permissions, validity period and enabled state. Use it if the key may have been leaked or shared by mistake, or if you no longer have a copy of the UUID. The old UUID stops working immediately, and the new one is shown only once, straight after regenerating.
To delete a key, choose Delete from the row menu, or click Delete in the Update API Key dialog, and confirm.
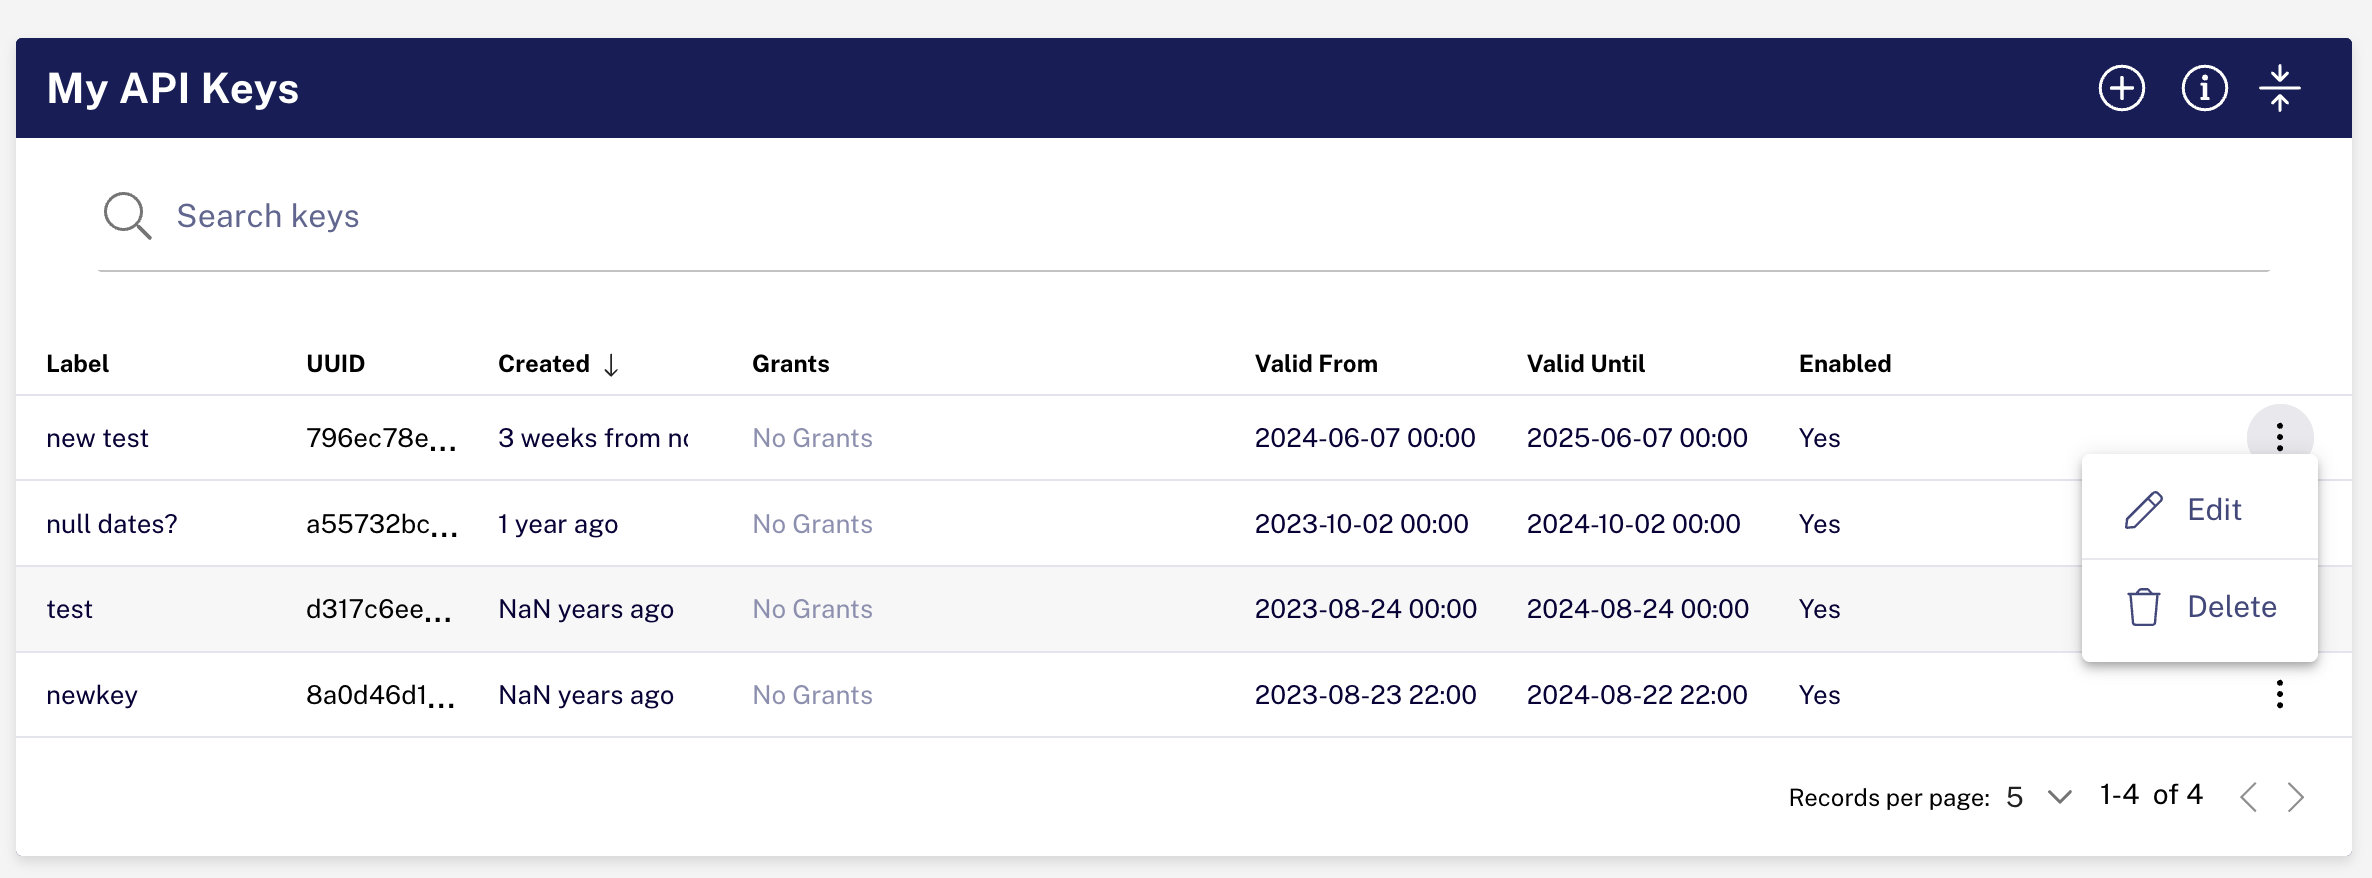 API action menu
Supported permissions
Permissions will gradually be introduced to cover more RIPE Atlas functionality. In particular, suggestions from the community will have an impact on which new permissions are created. Please send suggestions to atlas@ripe.net.
The available permissions are shown in the Permission dropdown in the create and edit dialogs.